Indoor Dog Photography Lighting: How Studio Light Produces Portraits Outdoor Light Can't
This article is the technical — how indoor lighting actually works for dog portraits, what it does that outdoor light cannot, and the specific craft decisions that shape what comes out of a studio session. For the experience and amenities side — what makes the studio space itself dog-friendly, the booking flow, and what your dog will physically encounter when they walk in — see Dog-Friendly Photo Studio on the South Shore. This piece is for the lighting nerds and for owners who want to understand why studio portraits look the way they do.
The Single Biggest Difference: Light Is a Decision, Not a Constraint
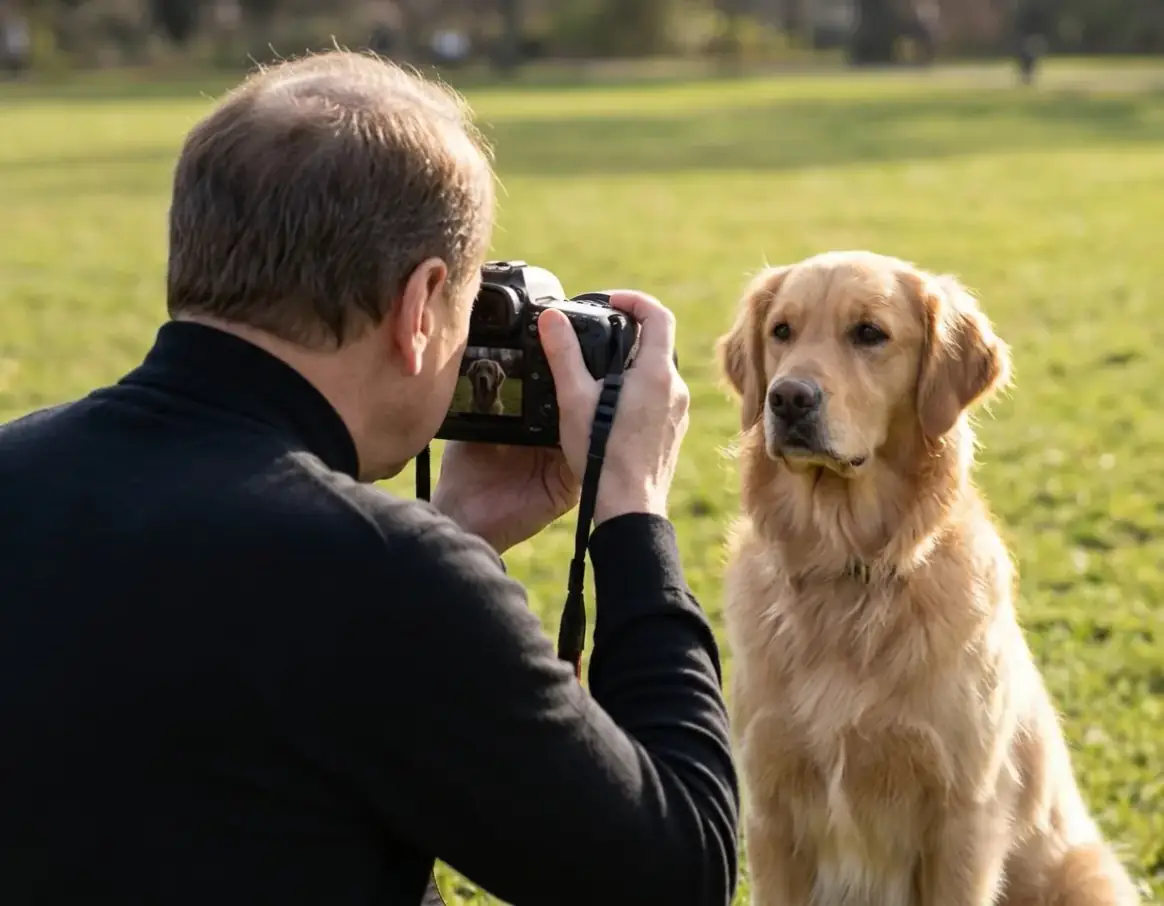
Outdoor dog photography is reactive — you take what the sky gives you and shape it. The sun is at one specific angle at one specific moment, the cloud cover is what it is, the season determines the color temperature of every photograph you take. A great outdoor photographer reads conditions and works inside them. They cannot change them.
Indoor studio light is the opposite. Every variable is something I decide in advance and adjust during the session: the angle of the key light relative to the dog's nose, the ratio between key and fill, the color temperature, the size of the light source relative to the subject, the distance, the modifier shape. None of these are imposed. All of them are tools.
The implication: studio portraits are built, not captured. There is nothing accidental about how the light falls on a black Labrador's face in the studio. It is set, tested, and adjusted before the dog arrives, and refined in real time during the session. That precision is what makes the difference between an indoor portrait and an outdoor portrait visible at first glance.
Coat-Specific Lighting Ratios (Why a Black Dog and a Cream Dog Need Different Light)
One of the most common technical failures in dog photography is using the same lighting setup across every coat color. A cream-coated Doodle and a black Standard Poodle have a roughly 6-stop difference in how their coats reflect light. Lighting them identically produces an overexposed Doodle or an underexposed Poodle — and in mixed-coat households, both at once.
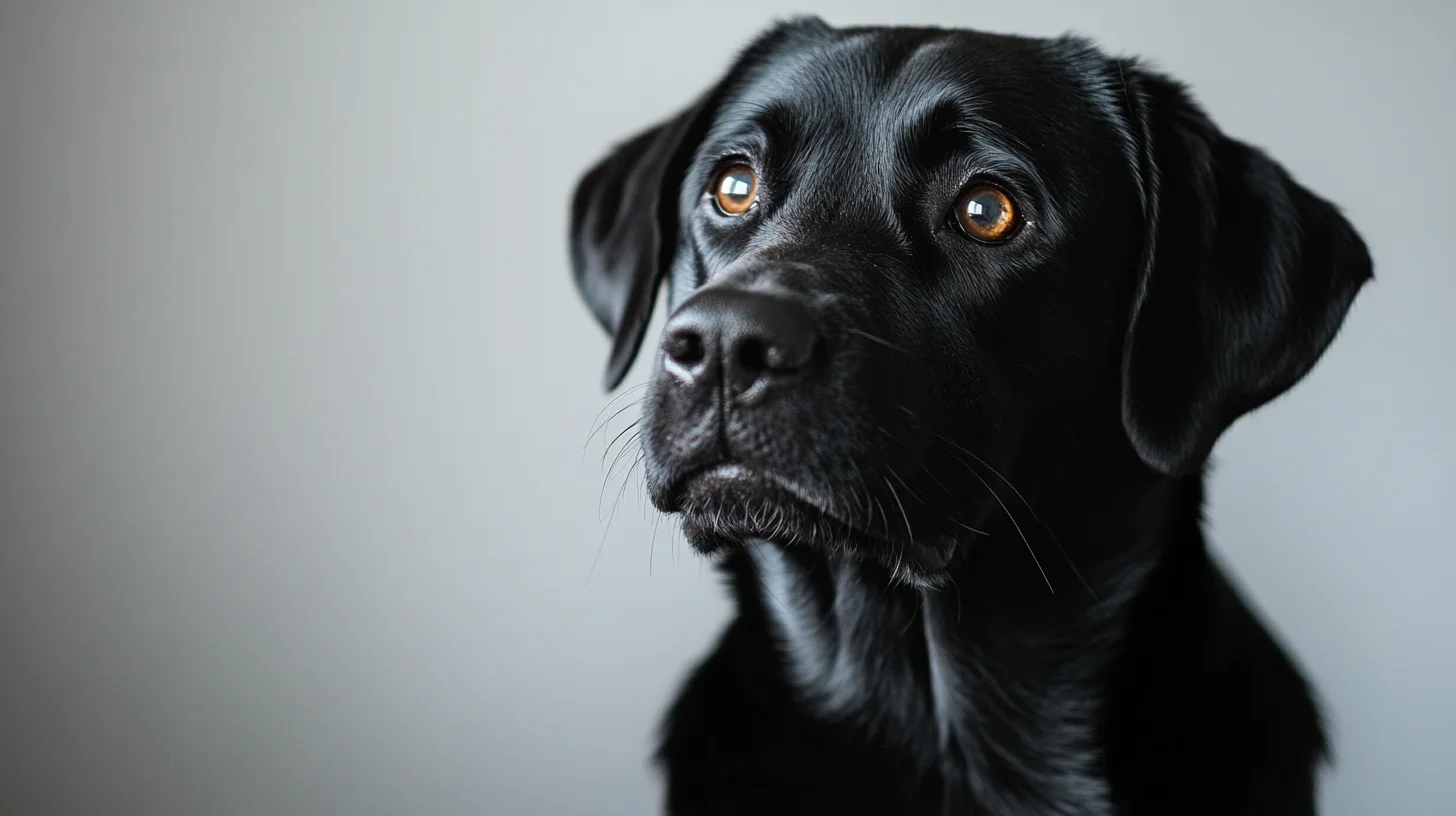
For dark coats (black Labradors, black Standard Poodles, dark German Shepherds), I work with a lower key-to-fill ratio — closer to 2:1 or 3:1 — with a larger fill source to lift detail in the coat. The risk on dark dogs is silhouetting: the face going to pure black with no recoverable detail in the eyes or muzzle. Larger soft fill prevents this. I'll often add a low-power kicker light from behind to separate the dog from the backdrop, since black coat against dark backdrop can lose all edge definition.
For light coats (cream, white, pale yellow), I work with a higher key-to-fill ratio — 4:1 or 5:1 is common — and reduce overall power to avoid blowing out highlights in the coat. The risk on light dogs is loss of texture: the coat reading as a flat, white, detail-free plane instead of showing the actual hair structure. Sharper light direction and reduced fill preserve the texture that makes a cream coat look dimensional.
For multi-color or merle coats (Australian Shepherds, Border Collies, tri-color Bernedoodles), the lighting decision is about preserving the contrast between coat regions without crushing the dark sections or blowing out the white. This is where studio control matters most — outdoors, the same dog can look like a different dog from one frame to the next as the light shifts. In the studio, the relationship between the dark and light parts of the coat stays consistent across the entire session.
None of these adjustments are possible outdoors. The sun is one ratio.
The Catchlight Problem — And Why Studio Solves It
A catchlight is the small bright reflection in a dog's eye that signals there's a light source in front of them. Without catchlight, eyes look flat and lifeless — an eye is not really registering as an eye until you can see the highlight in it.
Outdoors, catchlight depends on whether the dog's gaze direction matches the sky angle at that moment. Sometimes it works perfectly. Sometimes the dog tilts their head two inches in the wrong direction and the catchlight disappears, and you don't notice until you're editing.
In the studio, catchlight is a decision. I position the key light specifically so that there is always at least one strong catchlight in each eye regardless of where the dog turns their head. For dramatic portraits I'll use a single round catchlight from a beauty dish positioned slightly above and in front of the dog — that's the look that reads as “classic portrait.” For softer, more relaxed portraits I'll use a large rectangular softbox, which produces a wider, gentler catchlight that gives the eyes a softer feel.
The catchlight shape is one of those details most viewers can't consciously identify but immediately respond to. It's a major reason studio portraits feel finished in a way that snapshots don't.
Backdrop Tonal Control (And Why It's a Lighting Decision, Not a Backdrop Decision)
One of the most counterintuitive things about studio lighting: the backdrop's appearance in the final image is not determined by what color the backdrop physically is. It's determined by how much light is hitting the backdrop relative to the subject.
The same grey seamless can read as nearly white, mid-grey, or pure black in the final image depending on how I light it. If I add a separate backdrop light at full power, the grey reads bright and clean. If I block all light from reaching the backdrop — flagging it off with a black panel — the same grey paper reads as solid black. Switching between “clean studio look” and “dark moody portrait” in the same session, with the same physical setup, is a function of one lighting decision.
This is why studio sessions can produce a range of looks from a single backdrop. White seamless with a fully-lit backdrop produces high-key magazine-style portraits. The same white seamless underexposed by 4 stops produces a near-black background. A grey backdrop covers the entire range in between depending on how it's lit. The backdrop is the canvas; the light is the paint.
Outdoors, the background is whatever's behind the dog. You can blur it, you can choose a clean spot, you can shift your angle — but you cannot fundamentally change its tone or color the way studio control allows.
Color Temperature: The Unappreciated Variable
Most outdoor dog photography happens at golden hour because that's when the color temperature of natural light is warm and flattering. The downside: every outdoor session at golden hour looks like every other outdoor session at golden hour. The warmth dominates.
Studio strobes default to ~5500K (daylight neutral), which renders coat color accurately and lets the dog look like the dog actually looks — not like a warm-toned interpretation of the dog. For clients who want a specifically warm or cool tonal mood, I can gel the lights to shift color temperature deliberately. The point is that tonal mood becomes a creative decision, not a function of when we happened to schedule the session.
For black-and-white conversions, accurate neutral color temperature in the original capture matters more than people realize. A warm-shifted color image converted to black and white looks subtly different than a neutrally-lit image converted — the tonal relationships shift. Studio work gives me cleaner source files for the strongest possible black-and-white conversions, which is one reason a disproportionate number of my favorite black-and-white dog portraits are studio images.
Continuous vs Strobe: Two Tools for Different Dogs
The studio uses both continuous lighting and strobes, and the choice between them is determined by the dog, not by personal preference.
Continuous lights are always on, always visible. The dog sees what they see throughout the session, and there's no surprise flash to startle them. For sound-sensitive dogs, dogs with anxiety, and most senior dogs, continuous lighting is the right choice — predictable and quiet. The trade-off is lower output, which means slightly slower shutter speeds and more sensitivity to dog movement.
Strobes fire in a brief burst synchronized with the shutter. They produce far more light, which means faster shutter speeds and crisp action freezing — useful for high-energy dogs, jumping action shots, or any session where dog movement is significant. The downside is the brief flash, which startles some dogs the first time and requires a few test fires for the dog to acclimate. With dogs comfortable around flashes, strobes give me technical advantages no continuous setup can match.
I make this decision per session based on the dog's temperament, what we're trying to capture, and how the dog responds to the test fire. A dog who flinches at the first strobe is a dog we work with continuous lights for the rest of the session. There's no equipment-loyalty involved; the right tool is whichever one the dog can work with.
Who Should Book Indoor (The Short Version)
The technical advantages above translate to specific dog types who consistently produce stronger work indoors than out: reactive dogs, anxious dogs, brachycephalic breeds (especially in summer), senior dogs with mobility limits, small companion breeds, and unvaccinated puppies. The dog-friendly studio guide covers the experience side of why these dogs do better in the studio. The indoor vs outdoor comparison walks through the choice for dogs who could go either way.
For everyone else, the decision often comes down to what kind of portrait you want hanging on your wall. If you want a portrait that reads as “a dog at this beach in this season,” book outdoor. If you want a portrait that reads as “this dog, in their full presence, with no environmental context competing for attention,” book studio. Both approaches produce great work; they produce different things.
One specific case where studio outperforms outdoor every time: dark-coated dogs. Controlled studio light makes black coats look like coats — texture, depth, structure — instead of the flat silhouettes outdoor shooting often produces. The photographing black dogs guide covers the exposure approach in detail.
Book a Studio Session
Studio sessions at 83 E Water St Unit E328 in Rockland start at $395 with no travel fee. For the full studio amenities and what your dog will physically experience, see the dog-friendly studio guide. To book, get in touch.
“I cannot begin to describe how impressed and in love my husband and I are with Chris and his art! He showed up with a huge smile and amazing energy. Our pictures are out of this world.”
About the Author
Chris McCarthyProfessional Dog Photographer · Rockland, MA · 11+ years experience
I've photographed hundreds of dogs across the South Shore and Greater Boston since 2014 — every breed, size, age, and temperament. My own rescue, Sully, was reactive and anxious when I got him, and working with him every day taught me how to photograph dogs that other photographers find difficult. I specialize in reactive and shy dogs, seniors, and memory sessions — the sessions that matter most and need the most patience.